
This Wristlet Key Ring is a great option for any of your friends who seem to lose their keys frequently. You'll need:
 |
| Base fabric: 5"x14" |
 |
| Accent fabric: 3.5"x14" |
 | |||||
| Key ring. This pack of four different sizes was bought for under $1 at Home Depot. I used the 1.5" size. |
 |
| Step 1 (a): Lay your base fabric good-side-down on your work surface. Find the middle and fold one side in toward the middle. |
 |
| Step 1 (b): then fold the other side into the middle... |
 | |||||||||
| Step 1 (c): Then fold in half, pinning folded edges in place. Sew around the entire piece. |
 |
| Step 3: Center your accent fabric on your base fabric and pin. Sew the entire way around, including the ends. |
 |
| Step 4: Trim ends. |
 |
| Step 5: Put one end through keyring. Fold fabric into a loop with the right sides together. |
 |
| Step 6: Sew, using a zig-zag stitch. A few layers for reinforcement here is a great idea! |
 | |
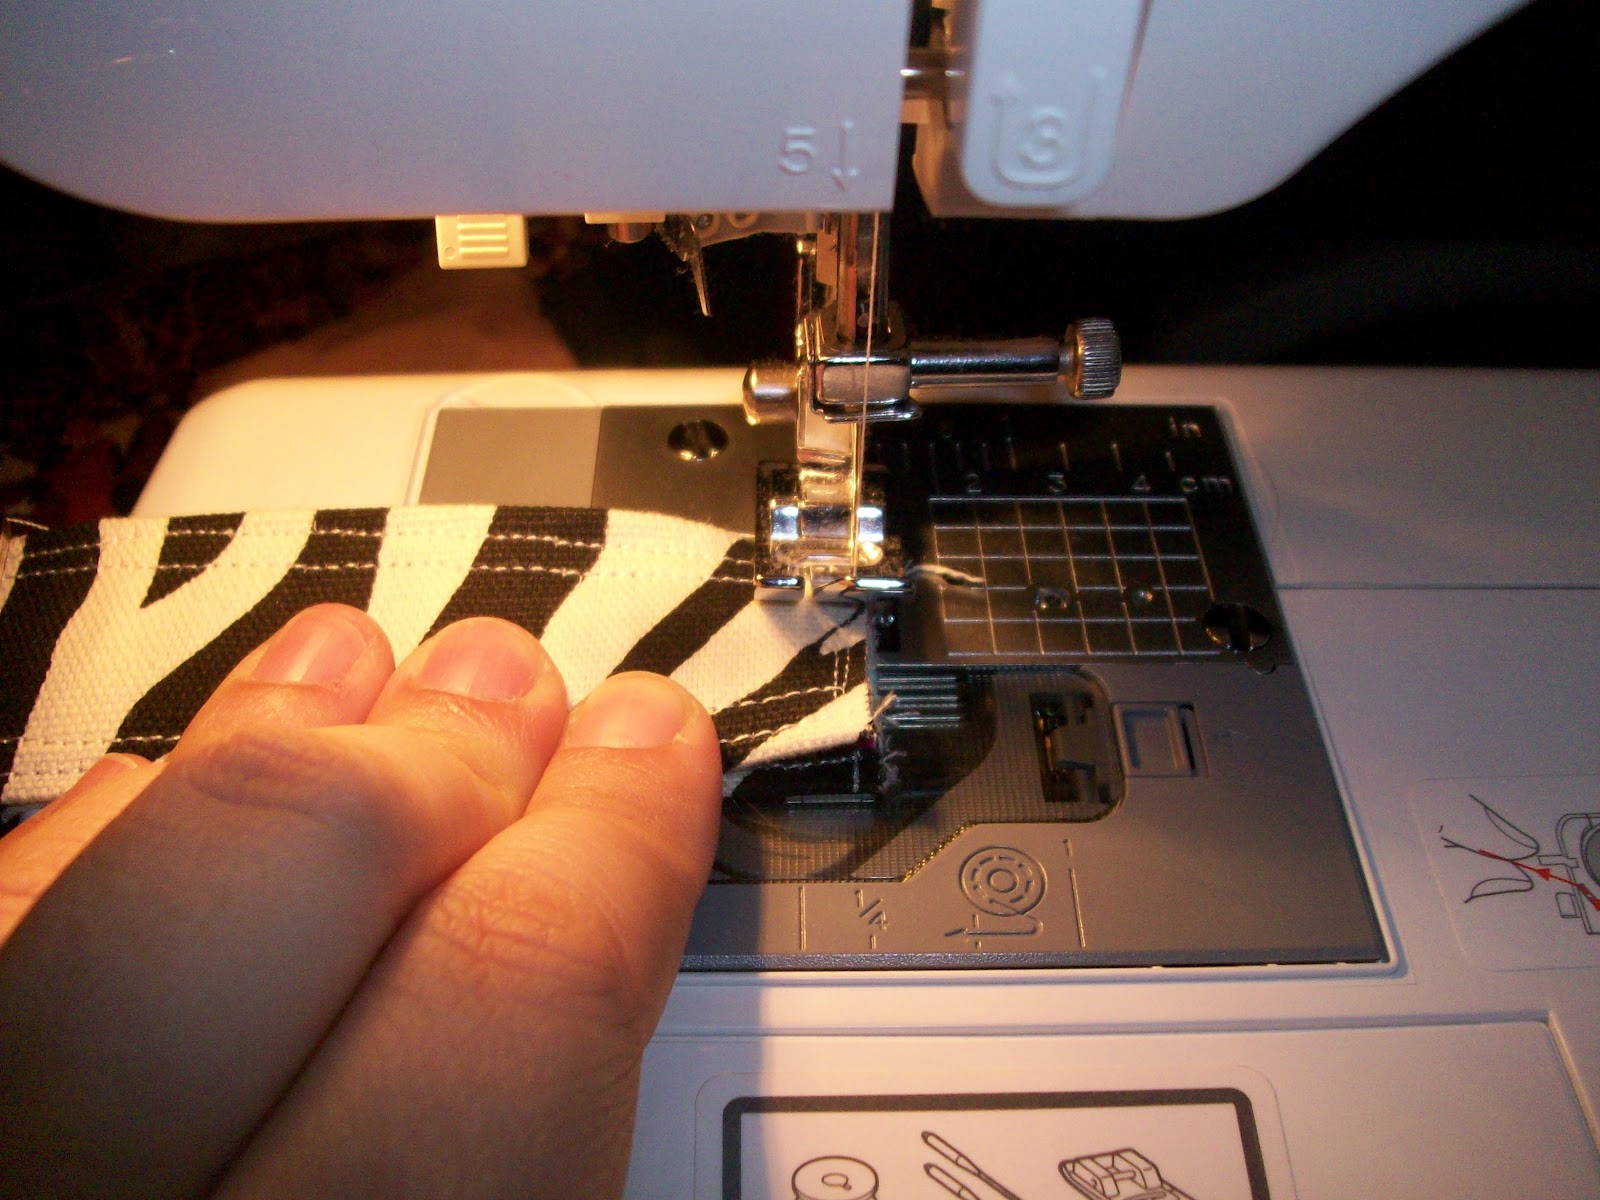
| Step 7: Turn loop so right sides are out. Attach your zipper foot (to allow you to sew closer to the key ring) and sew. Again, multiple runs are helpful for reinforcement. |
That's all! I don't know if that warranted a tutorial, but I thought I'd share. I think this is a great option for friends, especially if you are giving them a purse or some accessory for a birthday or Christmas. It's also a great little gift to share with friends for no reason at all.
Happy Crafting!
No comments:
Post a Comment